
Because this entire blog is mostly about Azure, it was only logical to host it in there and use as many Azure services as possible. But that is not the only reason for it. Azure offers several very interesting and convenient ways to host websites. It can handle everything, from simple static single page websites to monstrosity web applications running in dedicated server farms. Azure gives web admins more control over the resources than typical web hosting would and in some cases can cost as little as $0.10 per month.
This article starts the series where I hope to cover the most common cloud-unique scenarios.
Depending on when you are reading this, some of them might not be published yet. Make sure you come back or subscribe to my RSS feed to get notified when new articles are published.
Azure website hosting series
| # | Name | Release date |
|---|---|---|
| 1 | Configure Azure storage for static website hosting | This article |
| 2 | Using Azure DevOps Pipeline to automatically build and publish your Jekyll static website | |
| 3 | Configuring Custom Domain and CDN for Azure Website Hosting | May |
| 4 | Hosting WordPress website in Azure | May |
| 5 | How to host your website in Azure App Service | May |
| 6 | Using GitHub Pages and GitHub Actions for automatic website deployment | May |
| 7 | Comparison of Azure Static Website hosting and GitHub Pages | May |
| 8 | Using Azure Cognitive Services to add search function to static website hosted in Azure | May |
Configuring Azure storage for static websites
Hosting a simple informative static website or a blog can be a hassle. Azure offers super inexpensive, Ad-Free and really fast method to host a website like this.
Subscription
First, you need an Azure Subscription. If you don’t have one, go here and create it for free.
Resource Group
Then we need a resource group and a storage account. Let’s create them.
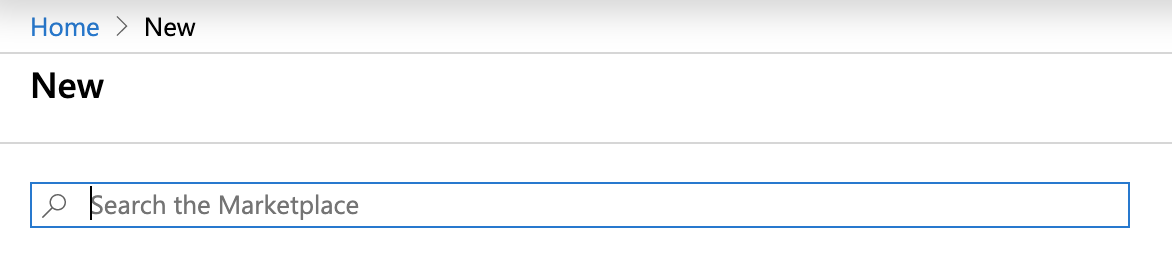
Go to Azure Portal home page, click Create Resource, and type Resource Group.
Select your Azure Subscription, typ a Resource Group name and select a region.
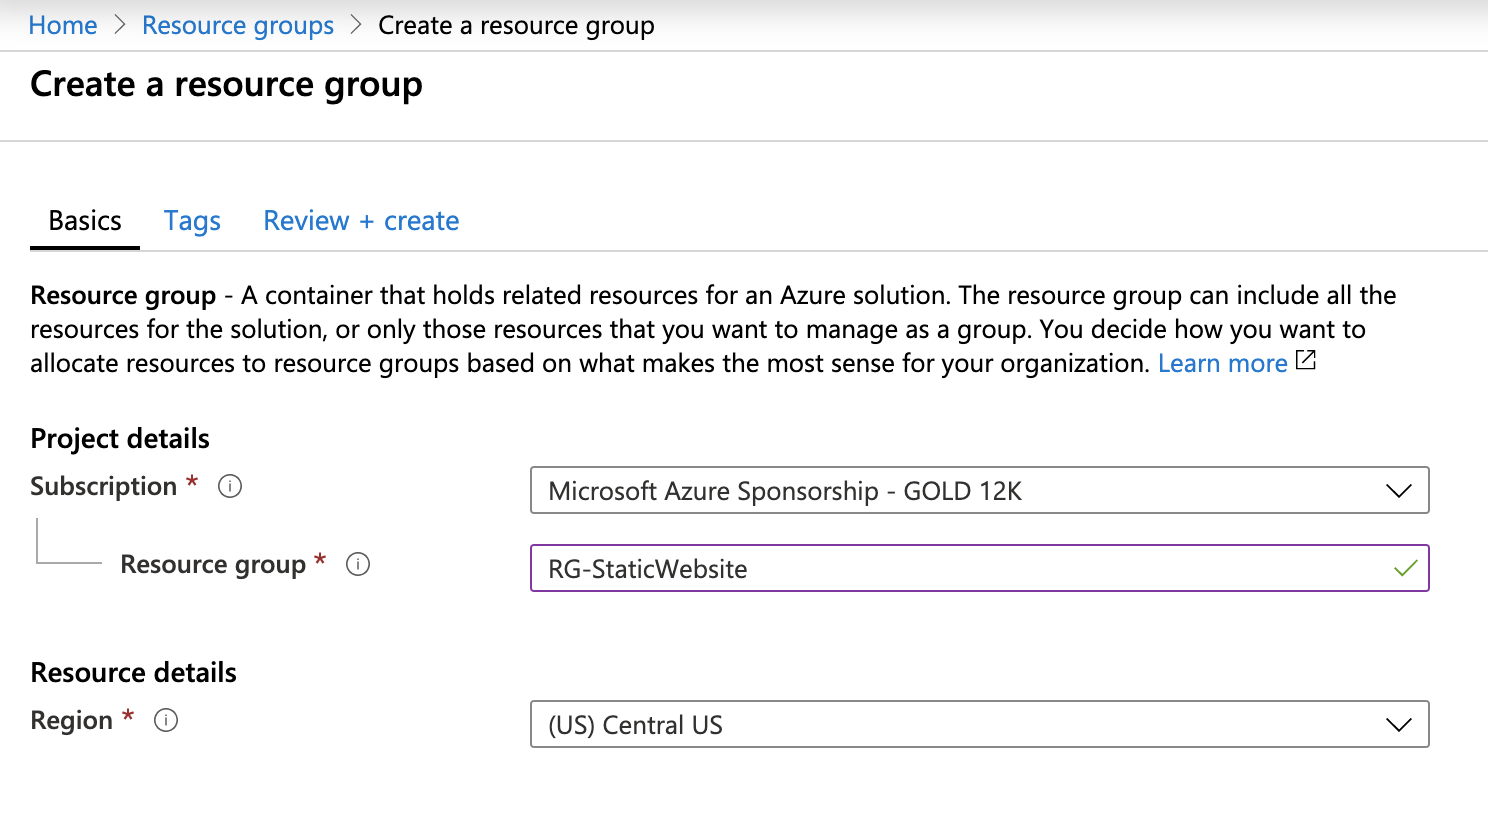
Add Tags and click Create.
Storage Account
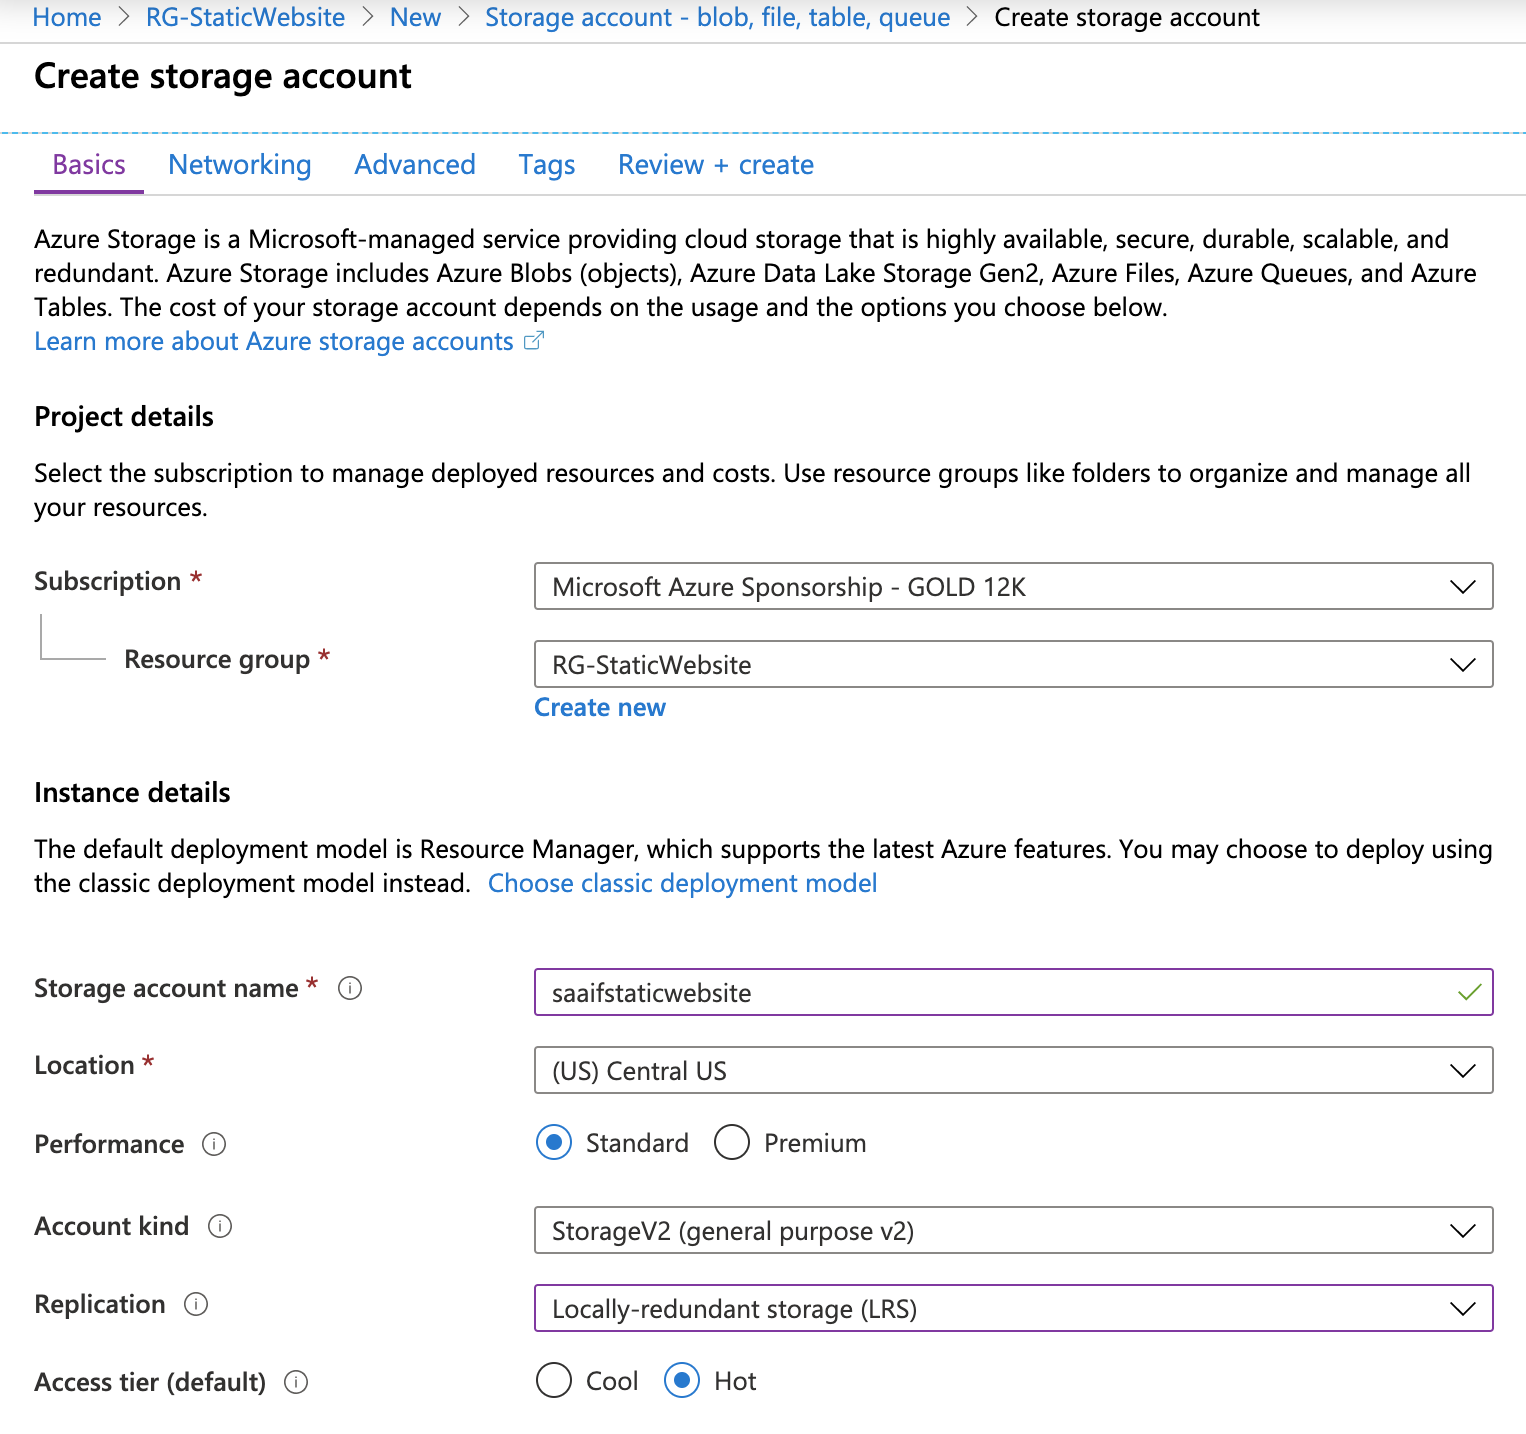
Now let’s create a storage account. Go to Create Resource again and select storage account. Select the Resource Group we just created, give your storage account a unique name, select location, performance and replication type. The selected name will be part of the URL that is provided for our static website. If you don’t plan on using the custom domain then you can play with the name here.
We also need to make sure that the account kind is StorageV2.
Leave the rest as is and create it.
Enabling static website
Once we have a storage account created, it is really simple to configure the Static website hosting. We just have to enable it and specify the names for the Index document and for the page-not-found error document. Click Save.
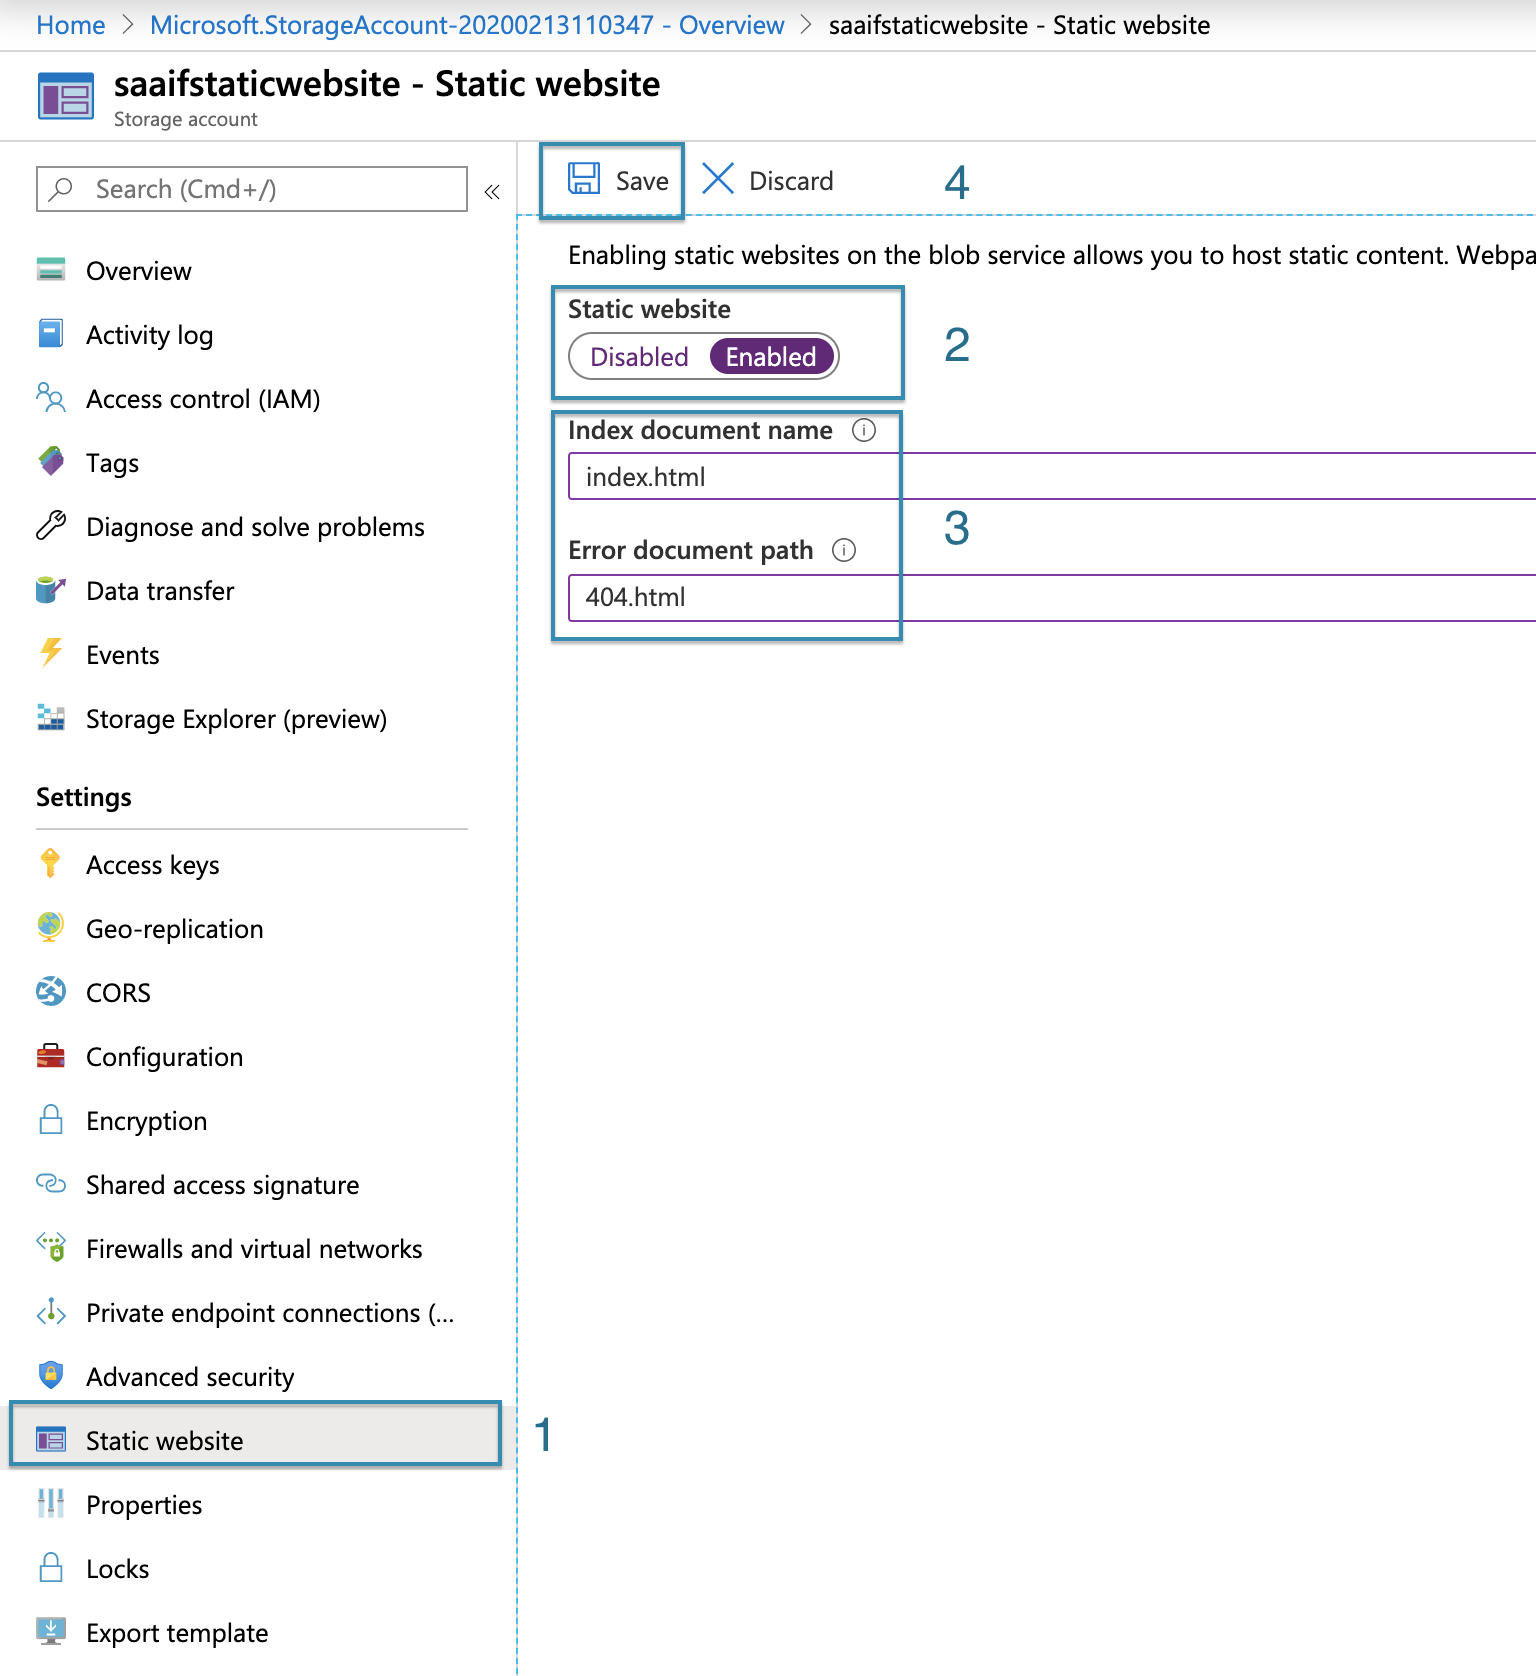
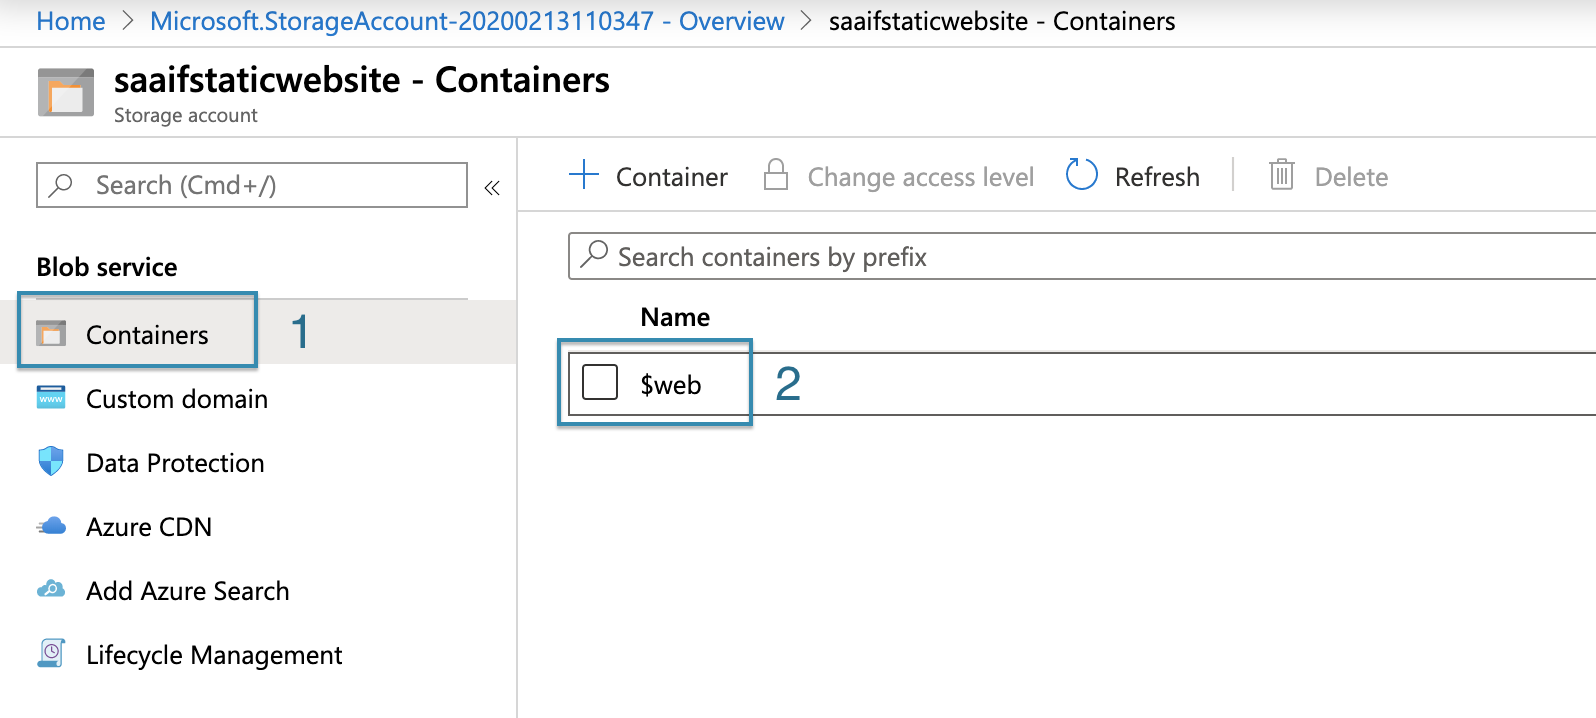
That will create the $web container in our Storage Account and create a region-specific public-facing primary endpoint. This is the URL for our storage account. This is a slightly different URL from the storage account URL that can be used to access and copy files.
Upload your content
Now let’s go to our container.
From here we can upload content. Click Upload, select your static files from your computer and click Upload again. Successfuly uploaded files will show in the list of files.
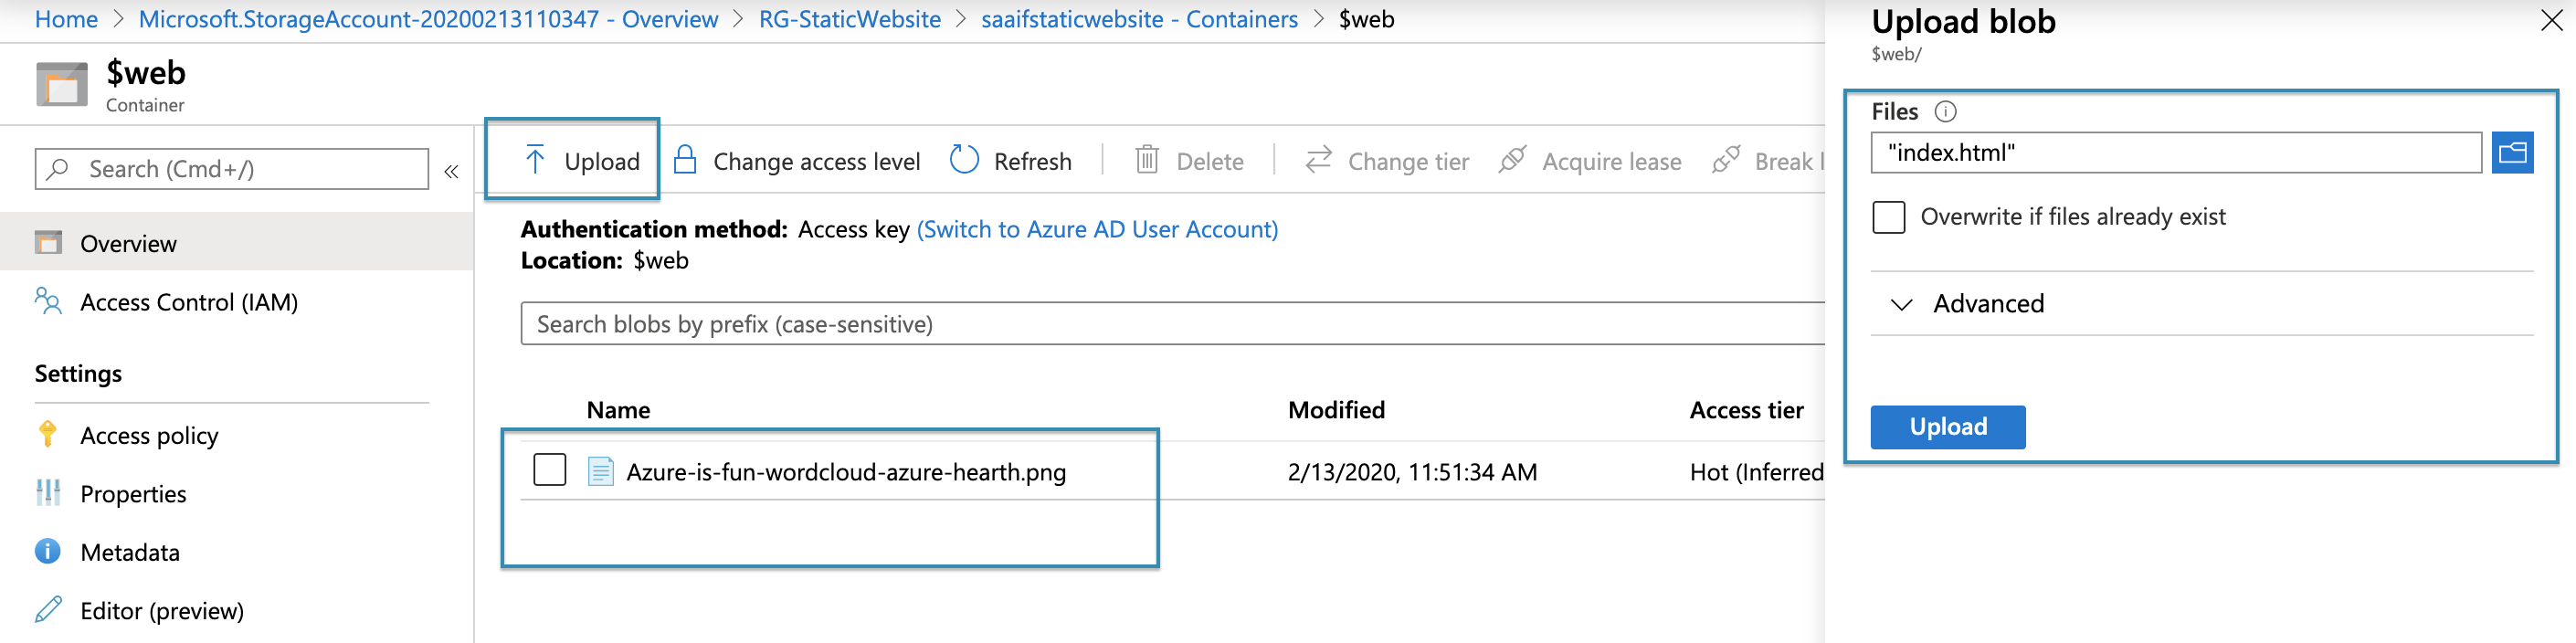
To upload multiple files and folders faster, you can use Azure Storage Explorer, a free cross-platform tool from Microsoft that allows you to access your Azure storage accounts and manage files.
And that’s it. We now have our website configured.
Now let’s go back to our Storage Account, click Static Websites and copy the URL of our website.
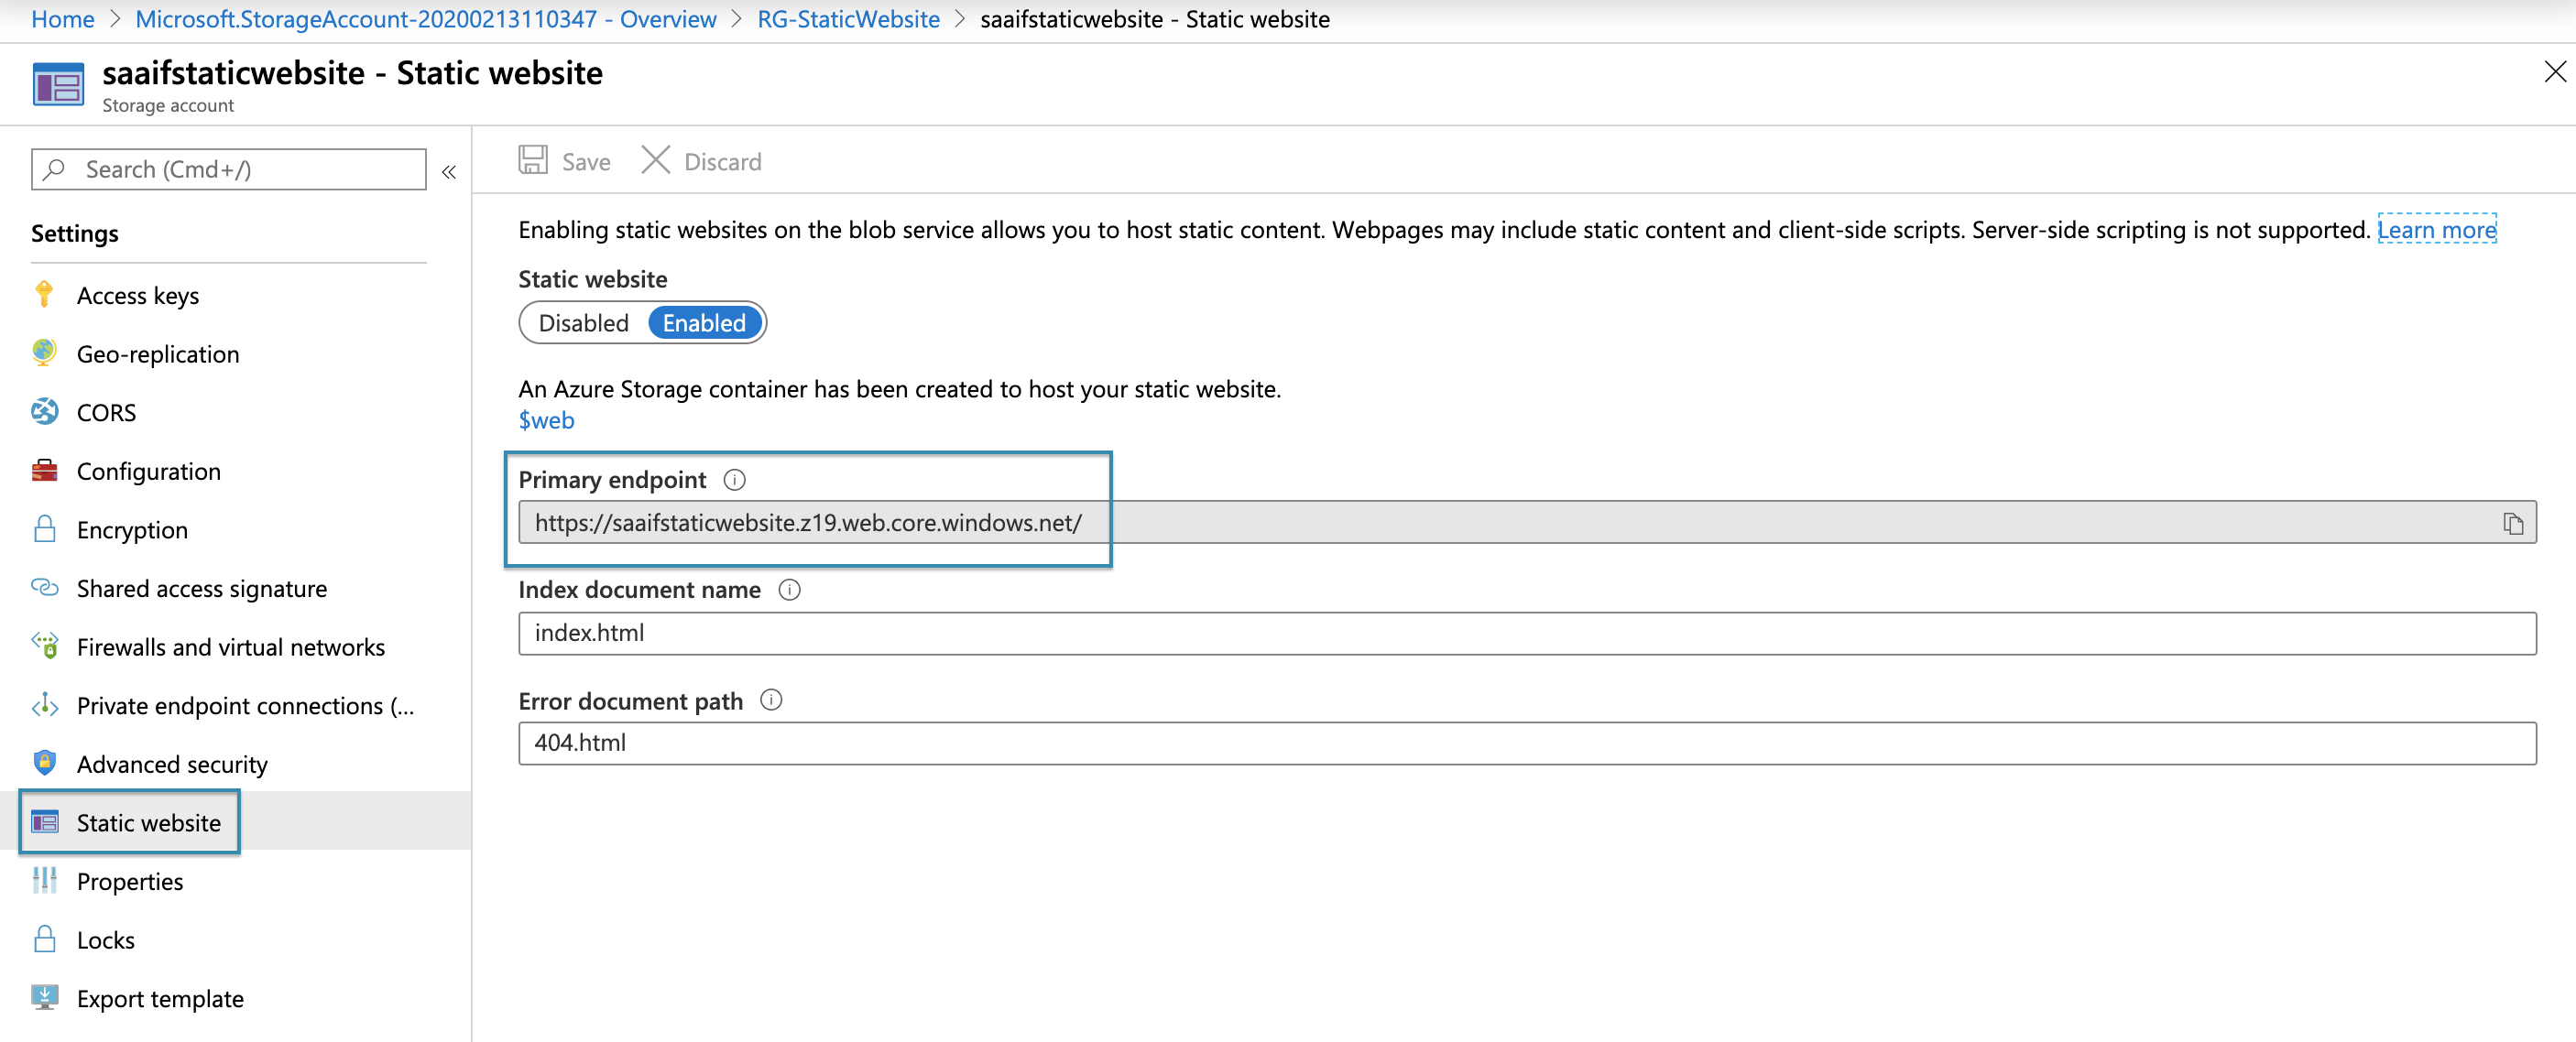
Open your browser and try it :)
How simple was that?
If you have any questions, let’s get in touch and discuss.
The next blog post in series is going to cover everything you need to know about configuring a custom domain for your hosting that you just created.
Thank you for sticking around.
Vukašin